InfluxDB Configure

In this post, we will see how we can install the latest version of InfluxDB (ver 2.0) in our Ubuntu Server. With the new version there’s only one thing to download and install and we can avoid installing the TICK Stack (Telegraf, InfluxDB, Chronograf, Kapacitor).
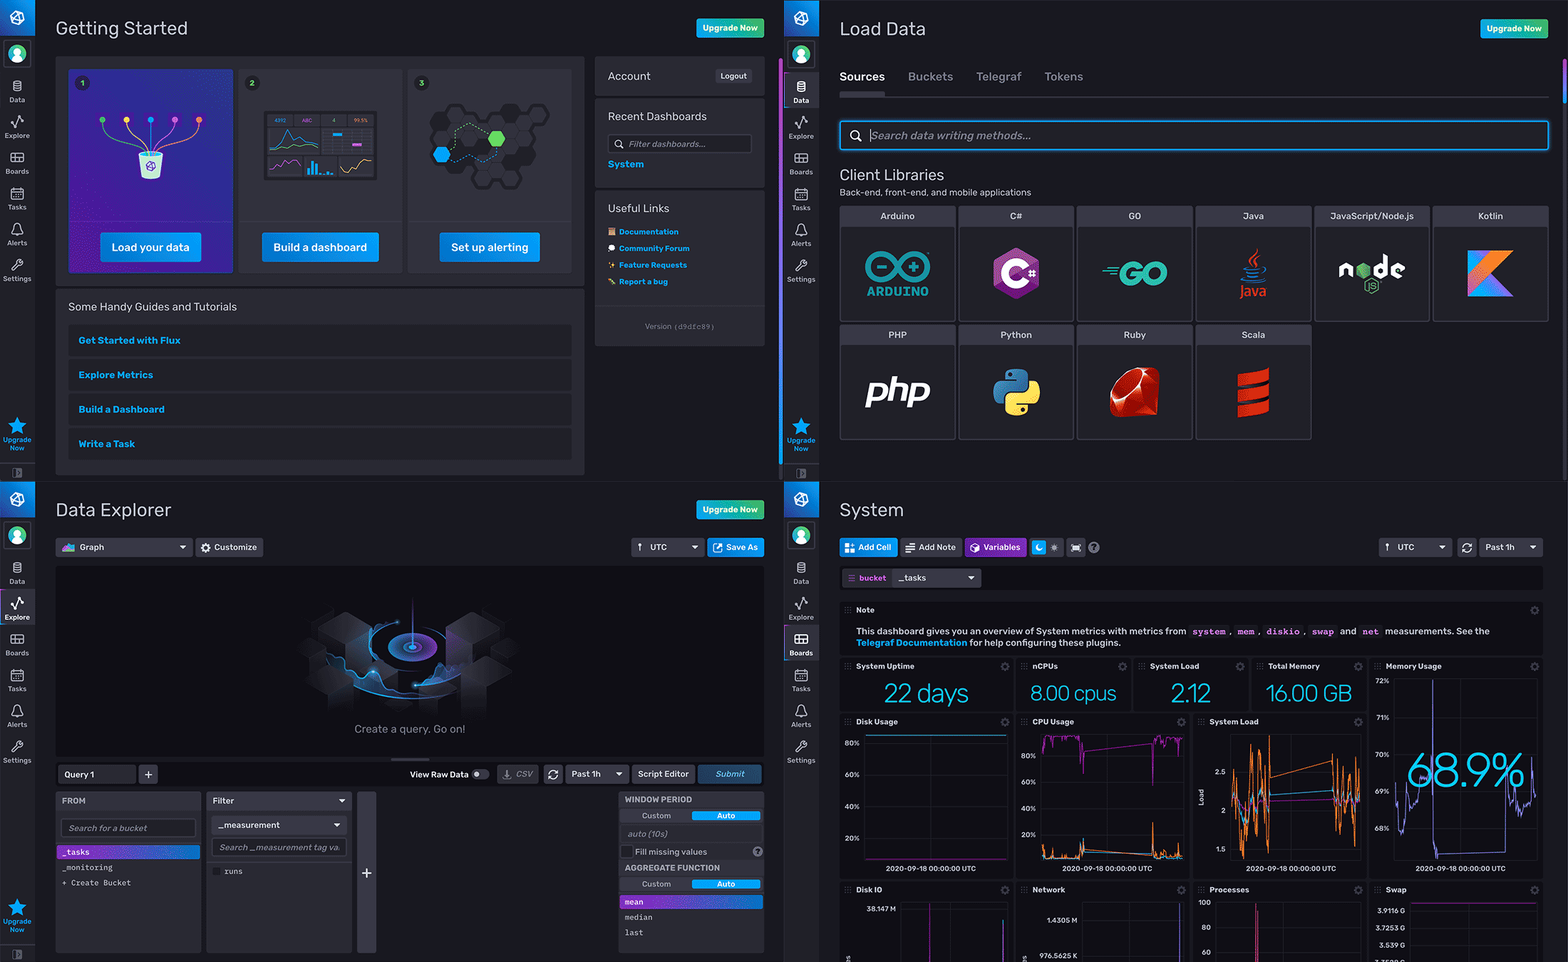
The new version is not a simple time-series database anymore, but also a platform for querying, visualization and data manipulation.
We have more than one way to install InfluxDB 2.0:
- By downloading the Linux binary
- By downloading the
.debpackage and installing it as a service - By installing from the official repository
We will show the last two methods.
Download the deb package
You can find the latest downloads on the InfluxDB 2.0 Download page and download the latest .deb package for Ubuntu & Debian.
For the 2.0.7 version you can run the following to download the .deb package and install it:
wget https://dl.influxdata.com/influxdb/releases/influxdb2-2.0.7-amd64.deb
sudo dpkg -i influxdb2-2.0.7-amd64.deb
Start the InfluxDB service:
sudo service influxdb start
Installing the InfluxDB package creates a service file at /lib/systemd/system/influxdb.service to start InfluxDB as a background service on startup.
Restart your system:
sudo reboot
And verify that the service is running correctly:
sudo service influxdb status
When installed as a service, InfluxDB stores data in the following locations:
- Time series data:
/var/lib/influxdb/engine/ - Key-value data:
/var/lib/influxdb/influxd.bolt - influx CLI configurations:
~/.influxdbv2/configs
Install from official repository
This method is similar to the previous one, but the main advantage is that we don’t have to manually download the .deb package and have the responsibility to manually download the next updated .deb packages and upgrade them ourselves.
We can simply, add the InfluxDB repository to our system and install the new versions when they release with the rest of the packages in our system.
To do that, we firstly have to add the InfluxDB key:
sudo curl -sL https://repos.influxdata.com/influxdb.key | sudo apt-key add -
And create a repository file:
sudo echo "deb https://repos.influxdata.com/ubuntu bionic stable" | sudo tee /etc/apt/sources.list.d/influxdb.list
Now we can update the packages, and install influxdb2:
sudo apt update
sudo apt install influxdb2
Start the InfluxDB service:
sudo service influxdb start
Installing the InfluxDB package creates a service file at /lib/systemd/system/influxdb.service to start InfluxDB as a background service on startup.
Restart your system:
sudo reboot
And verify that the service is running correctly:
sudo service influxdb status
When installed as a service, InfluxDB stores data in the following locations:
- Time series data:
/var/lib/influxdb/engine/ - Key-value data:
/var/lib/influxdb/influxd.bolt - influx CLI configurations:
~/.influxdbv2/configs
Optional Configurations
Pass arguments to systemd
If we want to pass arguments to the influxd service we can do that with 2 ways:
- By adding one or more lines like the following containing arguments for
influxdto/etc/default/influxdb2:
ARG1="--http-bind-address :8087"
ARG2="<another argument here>"
- By editing the
/lib/systemd/system/influxdb.servicefile as follows:
ExecStart=/usr/bin/influxd $ARG1 $ARG2
Network Ports
By default, InfluxDB uses TCP port 8086 for client-server communication over the InfluxDB HTTP API.
Enable shell completion
The influx completion command outputs influx shell completion scripts for a specified shell (bash or zsh).
Depending on the shell we are using we can generate the corresponding completion scripts. For this guide we will use the zsh file. See the official guide for the bash version.
zsh
We need to edit the ~/.zshrc file and add a command in order to execute it on every new shell start up:
vim ~/.zshrc
and add the following at the end of the file:
# InfluxDB completion
source <(influx completion zsh)
Disable Telemetry
By default, InfluxDB sends telemetry data back to InfluxData. To opt-out of sending telemetry data back to InfluxData, include the --reporting-disabled flag when starting influxd:
influxd --reporting-disabled
For the case of the systemd service we can edit the /lib/systemd/system/influxdb.service file:
ExecStart=/usr/bin/influxd --reporting-disabled
and restart the service:
sudo systemctl restart influxdb
Set Up InfluxDB
The initial setup process for InfluxDB walks through creating a default organization, user, bucket, and Admin authentication token. The setup process is available in both the InfluxDB user interface (UI) and in the influx command line interface (CLI).
I personally prefer the CLI method, because you configure it once for both the CLI and the UI. The UI method has an extra step to be able to use both the UI and the CLI.
Through the UI
Follow the official guide for Setting up InfluxDB through the UI.
Through the CLI
Begin the InfluxDB setup process via the influx CLI by running:
influx setup
- Enter a primary username.
- Enter a password for your user.
- Confirm your password by entering it again.
- Enter a name for your primary organization.
- Enter a name for your primary bucket.
- Enter a retention period for your primary bucket—valid units are nanoseconds (ns), microseconds (us or µs), milliseconds (ms), seconds (s), minutes (m), hours (h), days (d), and weeks (w). Enter nothing for an infinite retention period. (You can enter infinite for simplicity)
- Confirm the details for your primary user, organization, and bucket.
InfluxDB is now initialized with a:
- primary user
- organization
- bucket
- authentication token.
InfluxDB also creates a configuration profile for you so that you don’t have to add organization and token to every command.
To view that config profile, use the following command:
influx config list
View tokens
View authentication tokens using the InfluxDB user interface (UI) or the influx command line interface (CLI).
View tokens in the InfluxDB UI
In the navigation menu on the left, select Data (Load Data) > Tokens.
Click a token name from the list to view the token and a summary of access permissions.
View tokens using the influx CLI
Use the influx auth list command to view tokens:
$ influx auth list

ID  Description Token   User    Name    User    ID  Permissions
#...