InfluxDB Configure

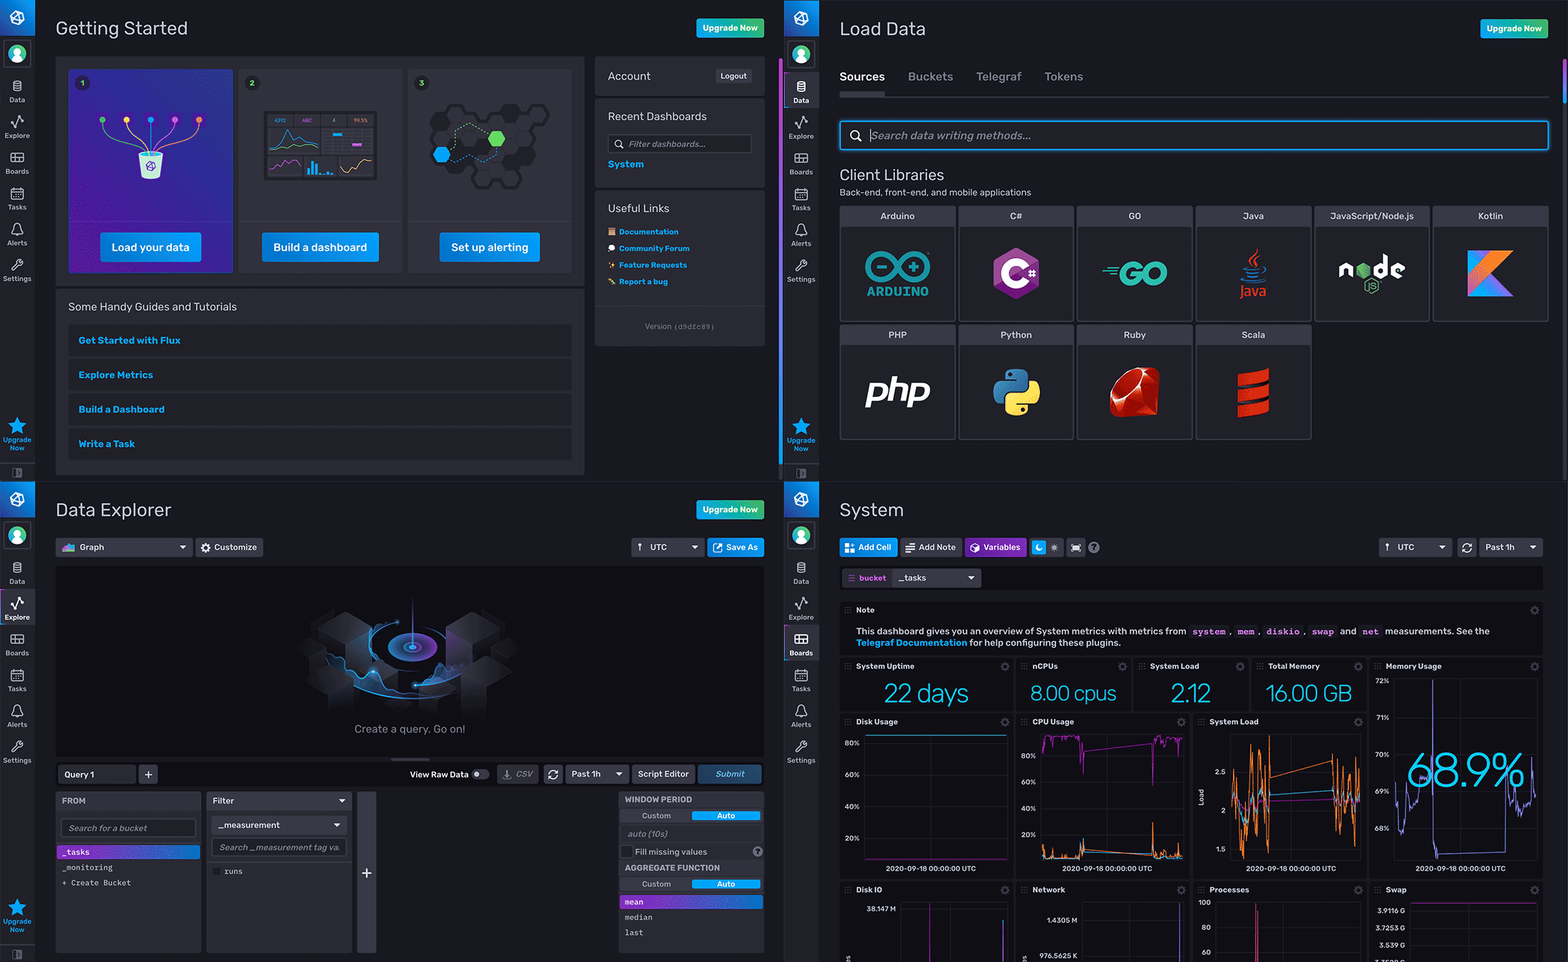
In this post, we will see how we can install the latest version of InfluxDB (ver 2.0) in our Ubuntu Server. With the new version there’s only one thing to download and install and we can avoid installing the TICK Stack (Telegraf, InfluxDB, Chronograf, Kapacitor).
The new version is not a simple time-series database anymore, but also a platform for querying, visualization and data manipulation.
We have more than one way to install InfluxDB 2.
Homer Configure

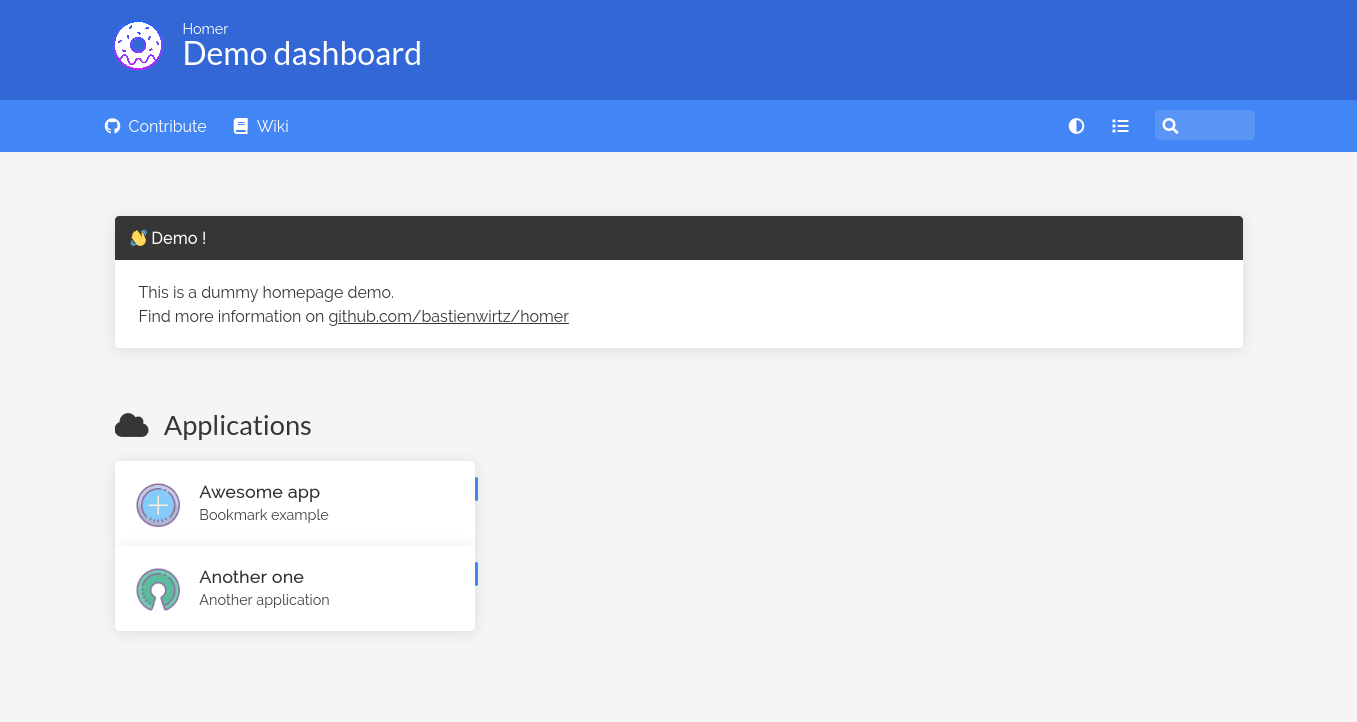
Homer is a dead simple static HOMepage for your servER to keep your services on hand, from a simple yaml configuration file.
We can use this app in order to have a homepage for all our services, apps and links of our server into one place, and edit only one yaml file.
In order to run the app we need Docker installed in our system, as it is going to be run as a container.
Docker Compose Install

Install and Configure Docker Compose for Ubuntu. This guide assumes, that Docker is already installed in your system.
Compose is a tool for defining and running multi-container Docker applications. We can use Compose to create and start all services with one command from a single configuration YAML file.
It is a great tool to have a minimal orchestration of Docker containers, without adding the complexity that other tools have, like Kubernetes and Docker Swarm.
Docker Install

Install and Configure Docker for Ubuntu.
Installation Prerequisites To install Docker Engine, you need the 64-bit version of one of these Ubuntu versions:
Ubuntu Hirsute 21.04 Ubuntu Groovy 20.10 Ubuntu Focal 20.04 (LTS) Ubuntu Bionic 18.04 (LTS) Ubuntu Xenial 16.04 (LTS) Uninstall old versions Older versions of Docker were called docker, docker.io, or docker-engine. If these are installed, uninstall them:
sudo apt-get remove docker docker-engine docker.io containerd runc Set up the repository Update the apt package index and install packages to allow apt to use a repository over HTTPS:
Duck DNS Configure

Duck DNS is a free dynamic DNS hosted on AWS, that we can use to get a free domain name. There a lot of free Dynamic DNS services, you can find a good comprehensive of them here as well as No-IP that we already have a guide, but Duck DNS is dead simple and has instructions for how to configure on every possible platform or system.
The only negative for this service is the limited subdomains that we can choose from.
Samba Client Configure

After you have already set up a Samba server, we will see in this post how to install and connect a Windows or a Linux machine to that Samba server. There are a lot of ways to do it, and we will use both the terminal and the GUI way for Linux.
Samba Client on Linux Using terminal and /etc/fstab For a permanent mount of the network folders after a reboot, we can edit the fstab file in order to mount the drives after a start up.
Samba Configure

Install Samba Install samba:
sudo apt update sudo apt install samba Check if the installation successful:
whereis samba The expected output should be something like this:
samba: /usr/sbin/samba /usr/lib/samba /etc/samba /usr/share/samba /usr/share/man/man7/samba.7.gz /usr/share/man/man8/samba.8.gz Configure Firewall If you have a firewall running on your Ubuntu system you’ll need to allow incoming UDP connections on ports 137 and 138 and TCP connections on ports 139 and 445. Assuming you are using UFW to manage your firewall, you can open the ports by enabling the samba profile:
Plex Install

In this post, we will see how can install our own Plex server instance on our Ubuntu (or any Debian based) system.
Plex allows us to have our own media library (movies, tv shows, music, images, videos) that we can access from any device in our local network or the outside world if we enable it.
The only thing that we will need, except for a linux server, is a free Plex account that we will see where you can create, later in the process.
Hamachi Configure

Hamachi is a virtual private network application that lets us securely extend LAN-like networks to distributed PCs from different public networks. This way we can play LAN games with our friends without having to be in the same local network (aka the same house).
It is a useful tool for a Minecraft Server, that we can use in order to allow people in our Hamachi network to connect to our LAN server via a Hamachi connection.
Minecraft Server Configuration

In this post, we will see how can install our own Minecraft server on our Ubuntu (or any Debian based) system.
By installing our own Minecraft server, and exposing it to the outside world, we can play with our friends online in a Survival or a Creative world.
We also have full control off the game, and a lot of customization and modding abilities.
Install Java And other needed software: