SNMP Daemon Configure
In the system administrator world, a large part of the work is to monitor the servers and all systems in infrastructure to make sure of their correct operation and to prevent any kind of malfunction or problems.
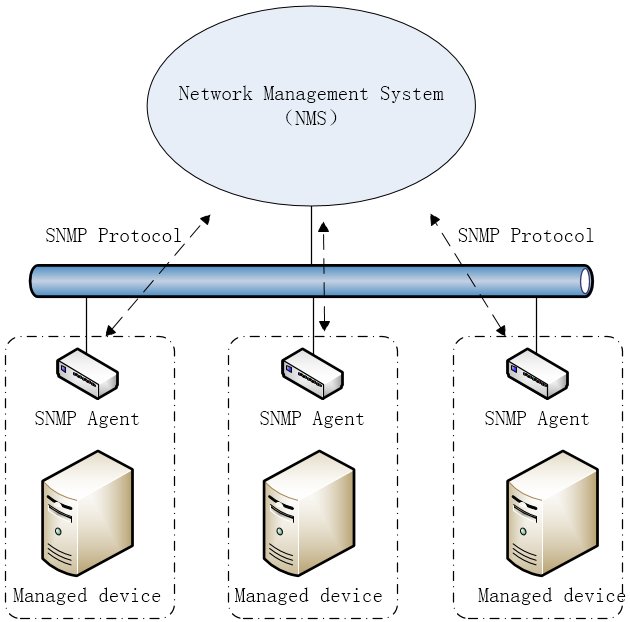
One protocol that allows devices to share their status with a monitoring server is SNMP, which is widely used in the networking world, in switches, routers, firewalls, or access points. SNMP’s main benefit is that, if the device supports it, it is very easy to remotely query them for their status and even change their configuration.
We don’t have to use SNMP only on networking equipment, we can install an SNMP Daemon in our server to use many monitoring applications that rely on the protocol to get status data from a device.
Install SNMP Daemon
sudo apt update
sudo apt install snmpd
Check Installation
Once the installation is completed, the SNMP Daemon will start automatically. You can verify it by checking the status of the service:
sudo systemctl status snmpd
Configure SNMP Daemon
Edit configuration file
The configuration file is in /etc/snmp/snmpd.conf.
It is best to keep a backup of the original configuration:
sudo cp /etc/snmp/snmpd.conf{,.backup}
Open the configuration file with your text editor:
sudo vim /etc/snmp/snmpd.conf
Configure agentAddress
The default configuration is to allow connections only from the local system, which is not ideal if we want to monitor the server from another device.
###############################################################################
#
#  AGENT BEHAVIOUR
#

#  Listen for connections from the local system only
agentAddress  udp:127.0.0.1:161
#  Listen for connections on all interfaces (both IPv4 *and* IPv6)
#agentAddress udp:161,udp6:[::1]:161
In this configuration we will configure the server to listen from all interfaces, so comment the loopback line and uncomment the all interfaces line:
#  Listen for connections from the local system only
#agentAddress  udp:127.0.0.1:161
#  Listen for connections on all interfaces (both IPv4 *and* IPv6)
agentAddress udp:161,udp6:[::1]:161
Configure community string
SNMP v1 and SNMP v2c, provide authentication using community string, which is a shared secret between the agent and the client that is passed in clear text over the network. We won’t need the authentication and encryption of the SNMP v3 protocol, as the SNMP service is available only on the local network.
###############################################################################
#
#  ACCESS CONTROL
#

                                                 #  system + hrSystem groups only
view   systemonly  included   .1.3.6.1.2.1.1
view   systemonly  included   .1.3.6.1.2.1.25.1

                                                 #  Full access from the local host
#rocommunity public  localhost
                                                 #  Default access to basic system info
 rocommunity public  default    -V systemonly
                                                 #  rocommunity6 is for IPv6
 rocommunity6 public  default   -V systemonly

                                                 #  Full access from an example network
                                                 #     Adjust this network address to match your local
                                                 #     settings, change the community string,
                                                 #     and check the 'agentAddress' setting above
#rocommunity secret  10.0.0.0/16
Uncomment the community secret and change to something you want (here using the default public, but please change to something else) and allow connections from your local network:
rocommunity public 192.168.1.0/24
You can change the subnet (192.168.1.0/24) depending on your local network.
Fix trapsink bug
In the Debian and Ubuntu versions of snmpd below 5.8.1 there is a bug in the /etc/snmp/snmpd.conf file.
Search for:
trapsink localhost public
and add :162 after localhost, such as:
trapsink localhost:162 public
Restart SNMP Daemon
Each time you edit a configuration file, you need to restart the SNMP Daemon for changes to take effect:
sudo systemctl restart snmpd
Configure Firewall
If you have a firewall running on your Ubuntu system you’ll need to allow incoming connections on ports 161 from anywhere in our local network. Assuming you are using UFW to manage your firewall, you can open the ports by enabling:
sudo ufw allow from 192.168.1.0/24 to any port 161
You can change the subnet (192.168.1.0/24) depending on your local network.
SNMP Client
SNMP ships with a command-line tool
sudo apt update
sudo apt install snmp
Check the status of the daemon
To check the status of the daemon, we specify the SNMP version (-v flag) and we give as arguments the community string and the IP of the SNMP server:
snmpwalk -v 2c -c public localhost
If we get a list of values back from the server we know the configuration works.