Install Hard Drive
fdisk usage.In this guide, we will see how we can install a new hard drive into a linux system. This operation requires partitioning, formatting and mounting the drive. Lastly, we will see how to edit the /etc/fstab in order for the drive to be automatically mounted at a system reboot.
This guide applies to all linux systems, though its been only tested in an Ubuntu Server machine.
Find the logical name of the drive
The logical name of the drive will be like /dev/sd*, where *=b,c,d,...
sudo lshw -C disk
or you can use:
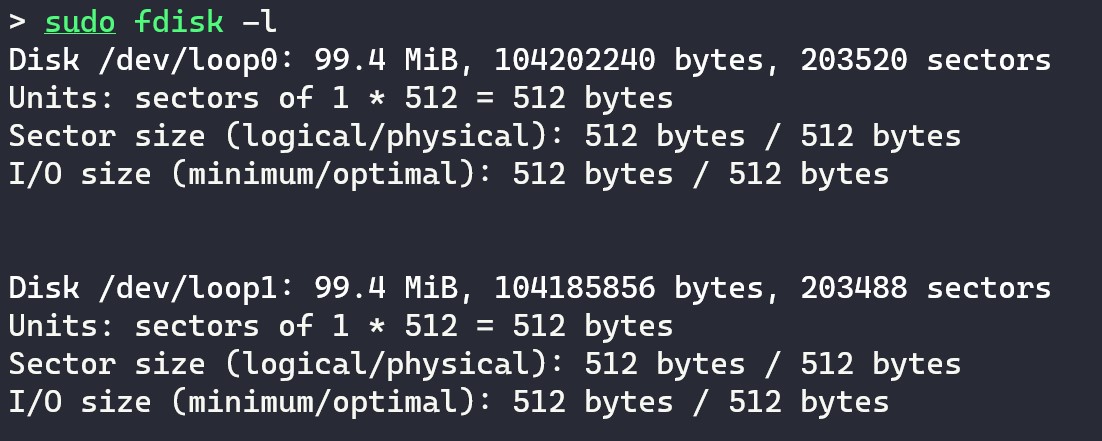
sudo fdisk -l
or even:
ls /dev/sd*
Partition the drive (with parted)
For a single partition, after you found the logical name of the drive,
we will assume this will be /dev/sdb for simplicity.
- Start parted as follows:
sudo parted /dev/sdb
- Create a new GPT disklabel (aka partition table):
(parted) mklabel gpt
- Set the default unit to TB:
(parted) unit TB
- Create one partition occupying all the space on the drive. For a 2TB drive:
(parted) mkpart
4.1 Select partition name:
Partition name? []? primary
4.2 Select file system type (usually ext4, fat32, ntfs).
File system type? [ext2]? ext4
4.3 Select start:
Start? 0
4.4 Select end:
End? 2
- Check that the results are correct:
(parted) print
There should be one partition occupying the entire drive. 6. Save and quit parted:
(parted) quit
Format the drive
To format the new partition as ext4 file system:
sudo mkfs -t ext4 /dev/sdb1
As always, substitute /dev/sdb1 with your own partition’s path.
Create A Mount Point
Now that the drive is partitioned and formatted, you need to choose a mount point.
This will be the location from which you will access the drive in the future.
I would recommend using a mount point with /media, as it is the default used by Ubuntu.
For this example, we’ll use the path /media/mynewdrive:
sudo mkdir /media/mynewdrive
Now we are ready to mount the drive to the mount point
Mount The Drive (with /dev/sd*, Not Preferred)
To automatically mount the disk each time the computer boots.
You’ll need to edit /etc/fstab:
Edit /etc/fstab
First create a copy of the /etc/fstab if some error occurs:
sudo cp /etc/fstab /etc/fstab~
Then open the file for editing:
sudo vim /etc/fstab
Add this line to the end (for ext4 file system):
/dev/sdb1 /media/mynewdrive ext4 defaults 0 2
Force changes
To have the changes take effect and check for no errors, you can now run:
sudo mount -a
or reboot the computer.
Mount the Drive (with UUID, Recommended)
To automatically mount the disk each time the computer boots.
Find disk UUID
First you will need to find the UUID of the drive:
sudo blkid
or you can list them from the root fs:
ls -l /dev/disk/by-uuid/
This will display every UUID associated with every storage device attached to your machine. Locate your drive, and copy its UUID. Example of possible output:
/dev/sda1: UUID="7286-2A7A" TYPE="vfat" PARTUUID="02300589-fb35-4257-bd53-b1be9b2eb1aa"
/dev/sda2: UUID="6711e5d5-a986-436b-88e0-afdbd636c65f" TYPE="ext4" PARTUUID="9192f875-2089-40c5-8d23-102c8ced0bac"
Edit /etc/fstab
First create a copy of the /etc/fstab if some error occurs:
sudo cp /etc/fstab /etc/fstab~
Then open the file for editing:
sudo vim /etc/fstab
Add this line to the end (for ext4 file system):
# <device>                                <dir> <type> <options> <dump> <fsck>
UUID=6711e5d5-a986-436b-88e0-afdbd636c14e /media/mynewdrive ext4 defaults 0 0
#UUID=6711e5d5-a986-436b-88e0-afdbd636c14e /media/mynewdrive ext4 rw,suid,dev,exec,auto,async,user 0 0
Explanation of fieds:
<device>: describes the block special device or remote filesystem to be mounted<dir>: describes the mount directory<type>: the file system type.<options>: the associated mount options- default options: rw, suid, dev, exec, auto, nouser, and async
<dumb>: is checked by thedump(8)utility. This field is usually set to 0, which disables the check<fsck>: sets the order for filesystem checks at boot time; seefsck(8). For the root device it should be 1. For other partitions it should be 2, or 0 to disable checking.
Force changes
To have the changes take effect and check for no errors, you can now run:
sudo mount -a
or reboot the computer.
Change Disk Ownership & Permissions
In order to allow normal users to access the drive we have to give ownership to the top directory of the drive to a group (more flexible, than only a user). You can choose between:
- The
plugdevgroup (usually those who are meant to be able to mount removable disks, desktop users) - Create a new group and add users as needed
Create a new group
sudo groupadd mediagroup
Add user to the group
sudo usermod -aG mediagroup USERNAME
where USERNAME is the user you want to add.
Change ownership of drive
If you created a new group, you give this group ownership of the new drive, with these command:
sudo chown -R :mediagroup /media/mynewdrive
(Recommended for simplicity for reads/writes permissions)
If you are using the plugdev group, you give this group
ownership of the new drive, with these commands:
sudo chgrp plugdev /media/mynewdrive
sudo chmod g+w /media/mynewdrive
sudo chmod +t /media/mynewdrive
The last chmod +t adds the sticky bit, so that people can only delete
their own files and sub-directories in a directory, even if they have
write permissions to it (see man chmod).
(Recommended for better permission handling with multiple users)