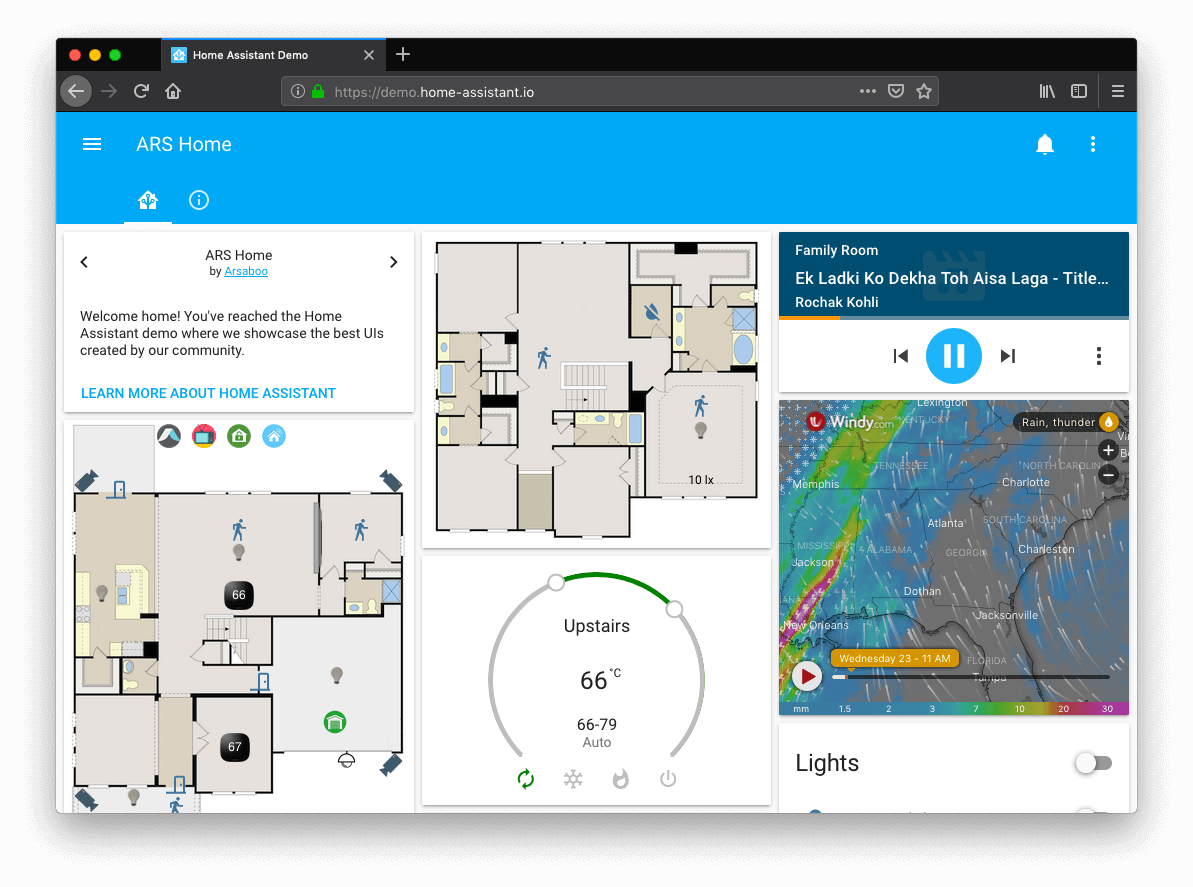
Home Assistant Install

In this post, we will see how we can run Home Assistant using Docker Containers on our Ubuntu Server. Home Assistant is an open source home automation tool that we can run on a local server to integrate with another Smart Home service or sensors and micro-controller.
There are a lot of installations method available, that you can find in the Installation page of Home Assistant, but we will use Docker containers to easily deploy the software.
Configuration Directory
The Home Assistant container needs a config folder in our hosts directory, so we need to create one.
We will create the ~/home-assistant directory, but you can adjust the name and the path to your liking:
mkdir ~/home-assistant
Platform Installation
Installation with Docker is straightforward. Adjust the following command so that ~/home-assistant points at the folder you created to store your configuration and run it:
docker run --init -d \
  --name homeassistant \
  --restart=unless-stopped \
  -v /etc/localtime:/etc/localtime:ro \
  -v ~/home-assistant:/config \
  --network=host \
  homeassistant/home-assistant:stable
Once the Home Assistant Container is running Home Assistant should be accessible using http://ip-server:8123 (replace with the hostname or IP of the system). You can continue with onboarding.
Restart Home Assistant
If we need to change the configuration we have to restart the server. We can do that with 3 ways:
- In your Home Assistant UI go to the Configuration panel -> Server management and click the Restart button.
- You can go to the Developer Tools -> Services, select the service
homeassistant.restartand click Call Service. - Restart it from a terminal.
docker restart homeassistant
Onboarding Home Assistant
After that the container is running if we access http://ip-server:8123 we get to configure the installation by creating an account and configuring to our liking. The steps are:
- Create an administrator account that will be the owner of Home Assistant. Enter a name, username, password and click on create account.
- Next, you can enter a name for your home and set your location and unit system. You can click Detect to find your location, or you can manually add if you don’t want to send your location.
- In the next scree, you can choose which data you want to share with Home Assistant.
- Next, Home Assistant will show any devices that it discovers on the local network and will suggest some integrations to install. You can select none and install them later.
- Finally, click Finish and you shall be brought to the Home Assistant home screen.
Now you can go to the Configuration tab and in the Integrations section to install any integration either found from your network or manually adding it.