Minecraft Server Configuration
In this post, we will see how can install our own Minecraft server on our Ubuntu (or any Debian based) system.
By installing our own Minecraft server, and exposing it to the outside world, we can play with our friends online in a Survival or a Creative world.
We also have full control off the game, and a lot of customization and modding abilities.
Install Java And other needed software:
No-IP Install and Service Commands
No-IP is a Free Dynamic DNS and Managed DNS Provider, that we can use to get a free domain name. There a lot of free Dynamic DNS services, you can find a good comprehensive of them here that we can choose from, but this was the first service that I personally tried.
The good with this service is that we have a big selection of free domain names that we can choose, so we can easily find a domain that is available for the hostname we want to have.
Postfix Configure
Install Postfix Install postfix and mailutils if not already installed:
sudo apt install postfix mailutils Postfix Configuration Screen In the screens, that will show up when installing postfix:
General type of mail configuration:
Choose Internet Site System mail name:
It will be the domain part of our emails, so if you choose the default which is the systems hostname e.g. serverhostname, Postfix will use the address someuser@serverhostname You can use serverhostname.
Fail2ban Configure
Install Fail2ban sudo apt update sudo apt install fail2ban Check Installation Once the installation is completed, the Fail2ban service will start automatically. You can verify it by checking the status of the service:
sudo systemctl status fail2ban Configure Fail2ban Create local configuration file The configuration file are in /etc/fail2ban/jail.conf, /etc/fail2ban/jail.d/defaults-debian.conf. Its best to not modify these, as they can be overwritten with an update.
The easiest way is, to copy the jail.
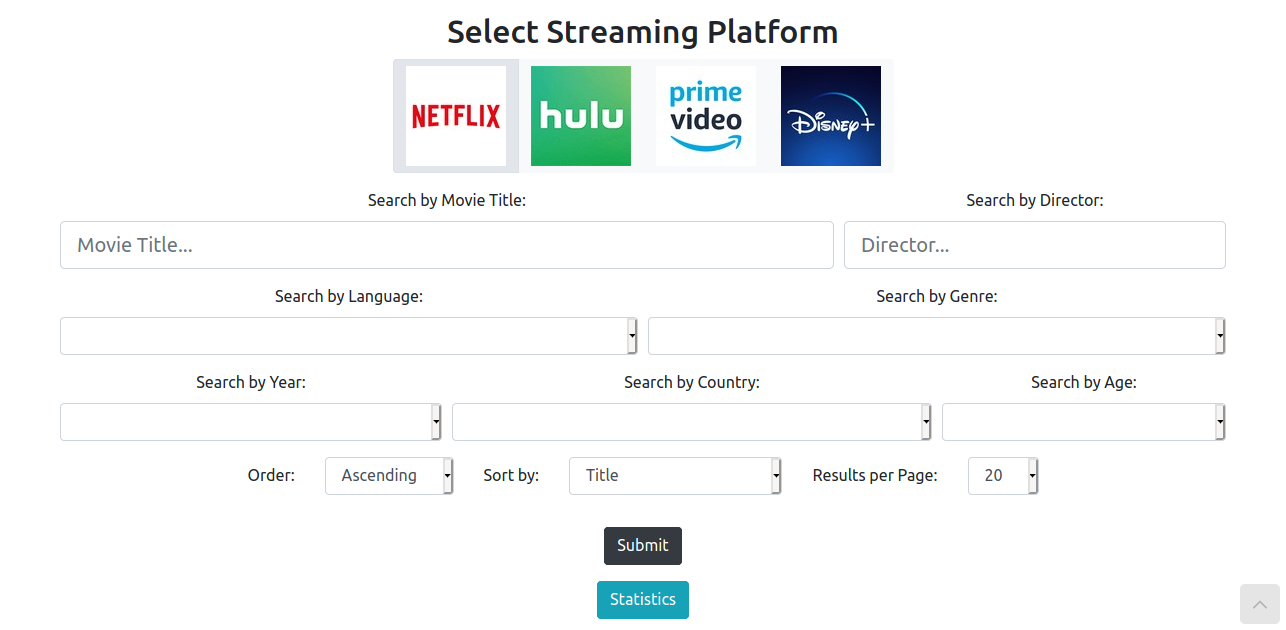
Building a full stack application for finding Movies on Streaming Platforms with the SERN stack (SQL, Express, React, Node)
About The purpose of this project is to create a Web Application in which a user can search movies to watch in different streaming platforms (Netflix, Hulu, Amazon Prime, Disney+).
The user can filter the results with different criteria and choose to search on any number of the streaming platforms in order to find the desired movies. Also, some statistics are provided about the number of movies that are available on each platform in the form of a pie chart.
Change Wordpress Port
In this post we will see, how we can change the default port (port 80) of Wordpress to something else (port 1280) in order to have port 80 available for other applications to use.
To make this change we will need to change 2 main things, the Apache configuration files and some options in the MySQL database.
We are assuming that Wordpress is installed in a LAMP stack on an Ubuntu or Debian server.
Wordpress Install
Wordpress Installation and Configuration Guide.
Prerequisites Create a sudo user on your server Install a LAMP stack Secure your site with SSL (can be done after) Create a MySQL Database and User for WordPress Log in to a MySQL administrative account (root):
sudo mysql -u root -p Create wordpress database:
CREATE DATABASE wordpress DEFAULT CHARACTER SET utf8 COLLATE utf8_unicode_ci; Create exclusive user for this database:
GRANT ALL ON wordpress.
LAMP Install
MySQL Install MySQL sudo apt install mysql-server Run security script Accept almost everything, and add secure root password:
sudo mysql_secure_installation Change authentication method If you don’t change the authentication method from auth_socket to mysql_native_password then anyone with a sudo user password can log in as root.
To check the authentication method, enter MySQL:
sudo mysql And type:
SELECT user,authentication_string,plugin,host FROM mysql.user; To configure the root account to authenticate with a password, run the following ALTER USER command.
Node.js App Service Commands
In this post, we will see how can make a node app a systemd service.
Suppose you have built a Node.js application and you have been running it all the time with npm start or by using another application like nodemon, so that you don’t need to restart the server. That is acceptable for development, but once you want to deploy that application somewhere this becomes infeasible.
By deployment, we don’t always mean something big and serious like AWS, Heroku, Containers.