OverTheWire - Bandit Walkthrough - Levels 0-9

OverTheWire’s wargames are offered to help learn and practice security concepts in the form of fun-filled games.
The Bandit wargame is aimed at absolute beginners and will teach them the basics needed to be able to play other wargames. All the challenges are focused on the Linux systems and their commands. It aims to get the player familiar with the Linux terminal and introduce some basic security concepts.
It consists of a total of 33 Levels.
Hugo Site Configure

In this post, we will see how we can create and configure our Hugo blog to our needs. This guide assumes, that Hugo is already installed in your system.
We will use a certain theme as an example, but the same principles apply to almost every theme.
We must also note that Hugo is somewhat tied to the theme you have, so if you want to change it, some changes will need to be made, mostly on the top config file, and less on the markdown content.
Hugo Install

In this post, we will see how we can install Hugo on our Ubuntu (or any Debian based) system.
Hugo is a very popular open-source static site generator (SSG) that is build with Go. It is mainly known for its speed and flexibility.
Hugo can be used by experienced Front-End developers that can create their custom themes with the Hugo templating system, but can also be used by novice users that want to create their own webpage with little to none knowledge.
armOS - Building a simple ARM Operating System for the Raspberry Pi

A simple ARM Operating System for the Raspberry Pi, supporting Aarch32 and Aarch64 architectures. It supports both Raspberry Pi Zero / Zero W and Raspberry Pi 4.
This project was made for the Embedded Systems course at NTUA 2020-2021.
Quick Links:
GitHub repository: https://github.com/thanoskoutr/armOS Wiki Documentation: https://github.com/thanoskoutr/armOS/wiki Doxygen Documentation: https://thanoskoutr.github.io/armOS/ There is presentation in Greek that was made to showcase the Project. You can find it here or hosted in the repository.
Samba Client Configure

After you have already set up a Samba server, we will see in this post how to install and connect a Windows or a Linux machine to that Samba server. There are a lot of ways to do it, and we will use both the terminal and the GUI way for Linux.
Samba Client on Linux Using terminal and /etc/fstab For a permanent mount of the network folders after a reboot, we can edit the fstab file in order to mount the drives after a start up.
Samba Configure

Install Samba Install samba:
sudo apt update sudo apt install samba Check if the installation successful:
whereis samba The expected output should be something like this:
samba: /usr/sbin/samba /usr/lib/samba /etc/samba /usr/share/samba /usr/share/man/man7/samba.7.gz /usr/share/man/man8/samba.8.gz Configure Firewall If you have a firewall running on your Ubuntu system you’ll need to allow incoming UDP connections on ports 137 and 138 and TCP connections on ports 139 and 445. Assuming you are using UFW to manage your firewall, you can open the ports by enabling the samba profile:
Plex Install

In this post, we will see how can install our own Plex server instance on our Ubuntu (or any Debian based) system.
Plex allows us to have our own media library (movies, tv shows, music, images, videos) that we can access from any device in our local network or the outside world if we enable it.
The only thing that we will need, except for a linux server, is a free Plex account that we will see where you can create, later in the process.
Building a DSL Info Bot with Selenium and Plotly

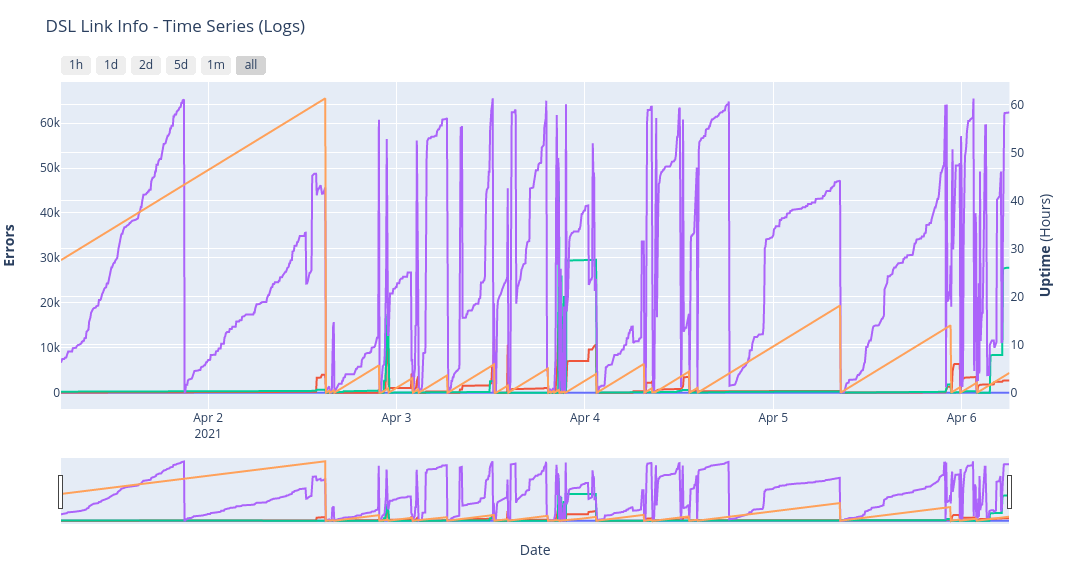
About A python bot, that uses Selenium, in order to automatically access the Router/Modem’s web-based setup page and get DSL Link info. It uses Plotly to create an interactive Plot as an HTML web page.
It also supports the export of the data to an InfluxDB Bucket for further monitoring and visualizing.
Currently gets the following info:
CRC Errors FEC Errors Showtime_start Support for the following Routers/Modems:
ZTE Nova Routers (H267N, H288A, …) The need behind this project, was to monitor my DSL Link information over time, to correlate with various internet outages or sudden internet speed issues.
Install Hard Drive

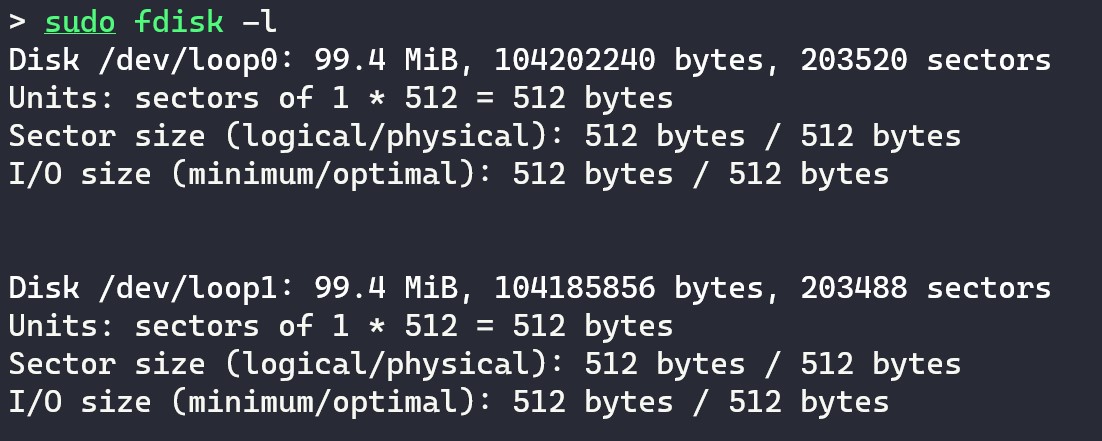
fdisk usage.
In this guide, we will see how we can install a new hard drive into a linux system. This operation requires partitioning, formatting and mounting the drive. Lastly, we will see how to edit the /etc/fstab in order for the drive to be automatically mounted at a system reboot.
This guide applies to all linux systems, though its been only tested in an Ubuntu Server machine.
Find the logical name of the drive The logical name of the drive will be like /dev/sd*, where *=b,c,d,.
Hamachi Configure

Hamachi is a virtual private network application that lets us securely extend LAN-like networks to distributed PCs from different public networks. This way we can play LAN games with our friends without having to be in the same local network (aka the same house).
It is a useful tool for a Minecraft Server, that we can use in order to allow people in our Hamachi network to connect to our LAN server via a Hamachi connection.